Showing posts with label wire art. Show all posts

HELPER


So we say with confidence, "The Lord is my helper; I will not be afraid. What can mere mortals do to me?" –Hebrews 13:6


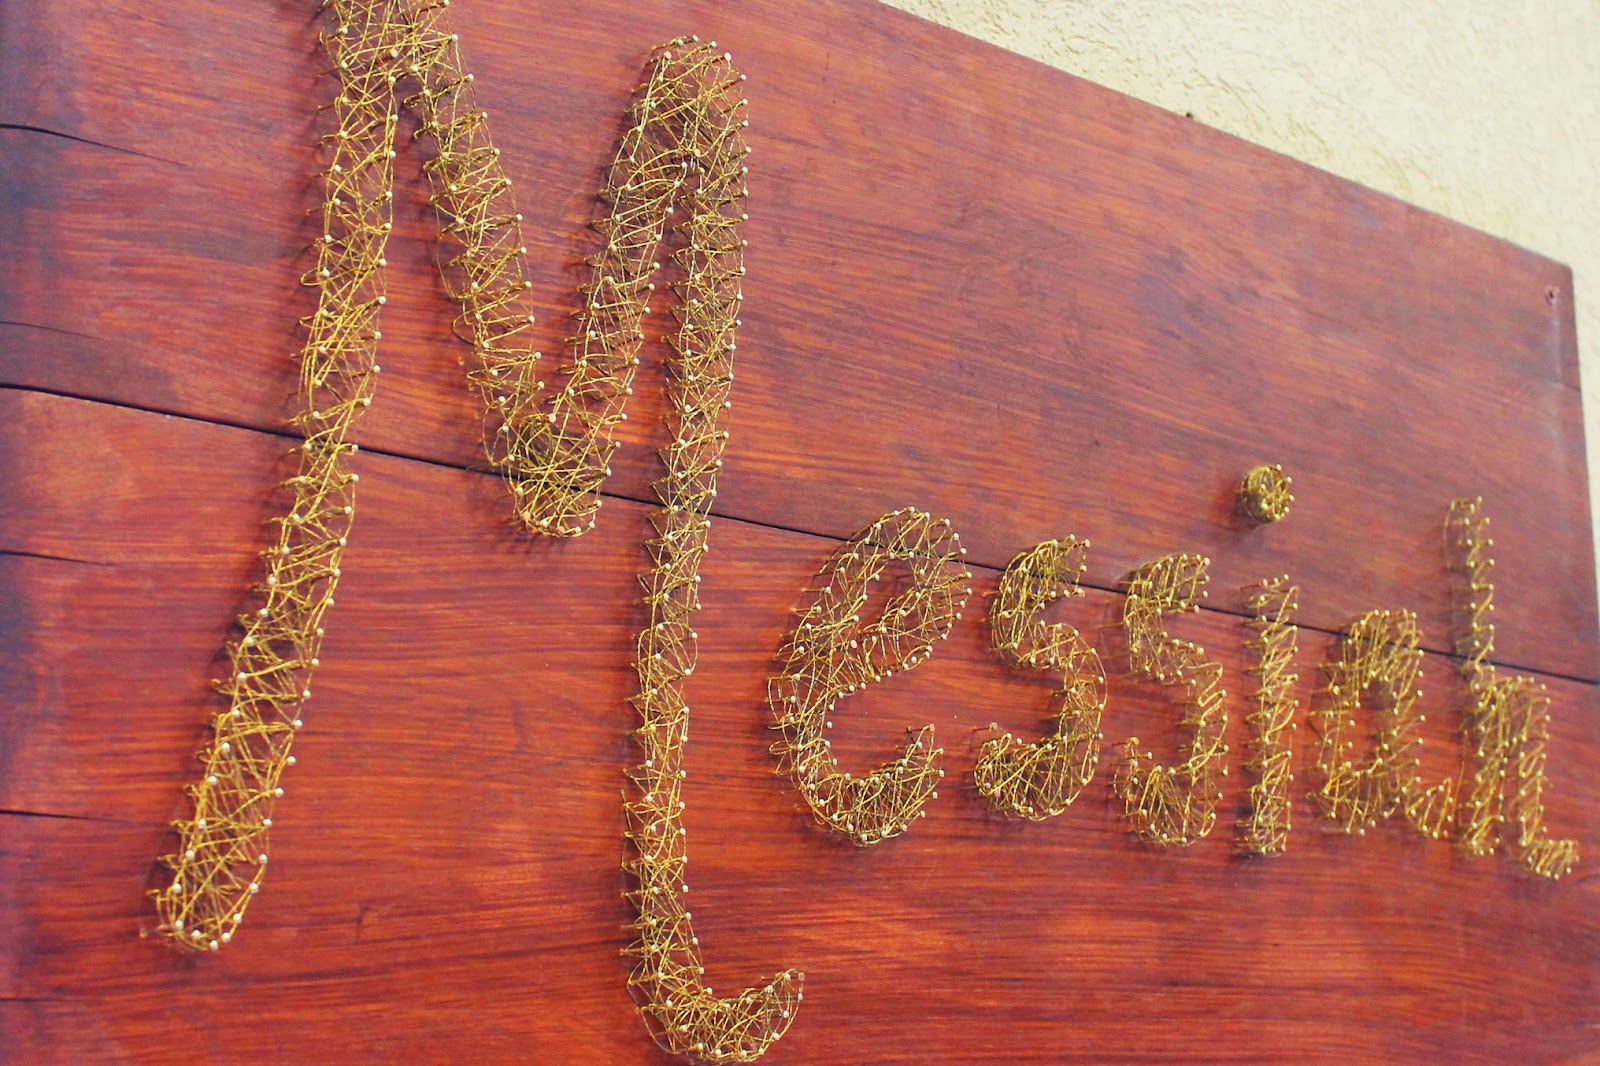
This beautiful antique washboard was a donated item, but I wanted to find a way to use it without destroying the piece. I fashioned the letters out of soldering wire. It's amazingly easy to work with, because it bends and smooths fluidly yet holds it shape well.

First, I printed the lettering in the desired font and size. I laid the printout on a scrap board, and hammered in nails at the key bends and wrap points of the letters.


This is how it looked after I placed the wire. You can see I used the nails just as guides–not necessarily as wrap points.

A quick spray-paint with Massey-Ferguson tractor red, and we have another name of God!


Of course, as Dave Ahlstedt (Wendy's husband) immediately pointed out, we could have just used red Twizzler candy and it would have been a lot faster.

MESSIAH


Simon Peter answered, "You are the Messiah, the Son of the living God."   –Matthew 16:16


The beautiful name "Messiah" was listed early on in our plans as an "add if we have time" name. We had several names that we thought were notable and important that didn't make it on our initial lists due to time and materials.


Even after we called the project complete, I decided to make one more. How could we present the room on Easter Sunday without "Messiah"?

When Chewie offered this beautiful wire for the nail art letters on Good Shepherd, I tried several methods to make it work, but ended up using the jute twin for that sign. This beautiful brass wire was destined for another name.


The Steps:

  • Board prep. First I dug through the rubble that began as a sizable wood pile to find a few more boards. I came up with two table leaves, which weren't very appealing. I sanded most of the varnish off and then applied a heavy coat of mahogany stain, i.e., I dumped about a cup of stain onto the boards. Then I used a brush to streak the stain to give it a wood grain look, then let the whole mess dry.
  • Letters. This was more of the same, just using a different "string". I chalked letters onto the board, then wiped them off until they were barely visible. Then I nailed brass tacks to form the letter outlines. I followed a more consistent pattern when I strung the wire to give it a more uniform mesh appearance.